Kitchen remodeling is one of the most popular—and most complex—home improvement projects homeowners take on. From budgeting and demolition to design and installation, there’s a reason experts call it one of the most intensive renovations you can tackle. So exactly how easy is it to remodel a kitchen? The honest answer: it’s not a walk in the park. But that doesn’t mean it has to be a nightmare. With careful planning and the right contractor, you can navigate the process smoothly and come out with a space you love. Here’s a realistic, step-by-step guide complete with potential challenges you might encounter along the way, to help you understand what’s involved.
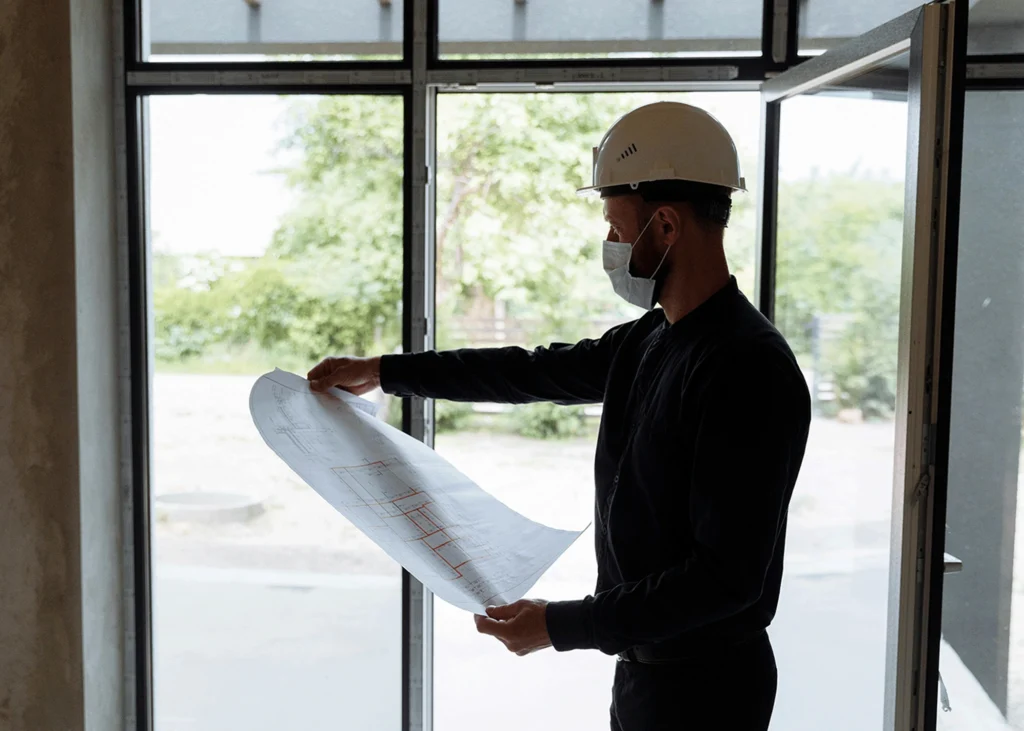
Step 1: Planning and Budgeting
This is where your dream kitchen starts to take shape. It’s also where most homeowners underestimate how many decisions they’ll need to make.

What You’ll Do:
- Define your goals: More counter space, better lighting, open concept, or increased resale value?
- Gather inspiration: Pinterest boards, Houzz saves, magazine clippings, and real-life examples.
- Set a realistic budget: Consider labor, materials, appliances, and a 10–20% contingency fund for unexpected costs.
- Hire professionals: Vet remodeling contractors, interior designers, or kitchen planners.
Potential Challenges That Can Be Encountered:
- Overlooking hidden costs like delivery fees, trim work, or permits.
- Misjudging how much certain materials or finishes really cost.
- Struggling to coordinate the design vision with the available space.
Step 2: Design & Layout
Your design sets the tone for the entire remodel. This is the phase where dreams and functionality need to align.
What You’ll Do:
- Choose a kitchen layout: U-shaped, galley, L-shaped, or open-concept.
- Select finishes and fixtures: Cabinet style, countertop material, backsplash tile, flooring, and lighting.
- Plan appliance placement: Refrigerator, range, dishwasher, and microwave location based on your workflow.
- Review with your contractor or designer: Adjustments are often needed to fit space and code.
Potential Challenges That Can Be Encountered:
- Running into layout restrictions due to existing plumbing or vent locations.
- Appliance dimensions clashing with cabinetry or walkways.
- Design elements that look great in theory but don’t translate well in the actual space.
Step 3: Permits and Material Ordering
This is the administrative backbone of your project. If it’s not handled properly, the remodel can stall.

What You’ll Do:
- Apply for permits: Required for structural, electrical, or plumbing changes.
- Order materials early: Cabinets, flooring, lighting, tile, appliances, and fixtures.
- Coordinate deliveries: Schedule items to arrive in sequence with the work timeline.
Potential Challenges That Can Be Encountered:
- Delays waiting for permit approvals can hold up the entire project timeline.
- Long lead times for specialty or custom items.
- Receiving incorrect, damaged, or mismatched materials upon delivery.
Step 4: Demolition
Time to say goodbye to the old. Demo sets the stage for everything to come.
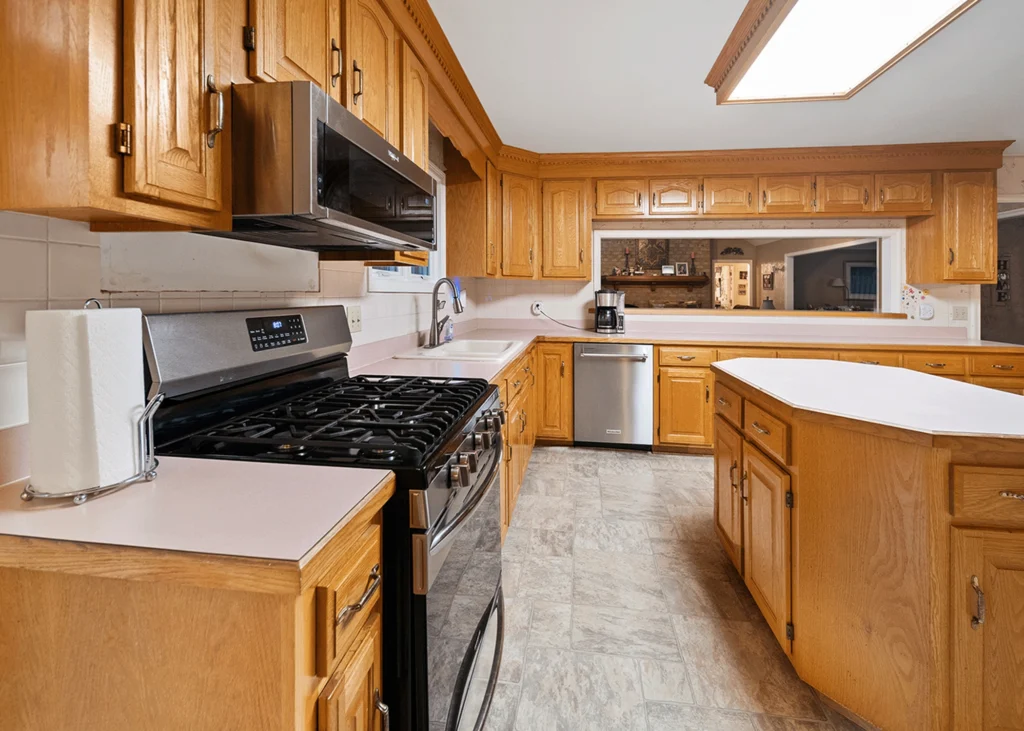
What You’ll Do:
- Remove old materials: Cabinets, countertops, appliances, flooring, sometimes even walls or soffits.
- Prepare the space: Clean and inspect the exposed framing, wiring, and plumbing.
- Dispose of debris: Rent a dumpster or use a hauling service.
Potential Challenges That Can Be Encountered:
- Hidden problems like water damage, pest issues, or outdated wiring behind walls.
- Excess debris and dust affecting nearby living areas.
- Structural surprises when removing walls, soffits, or ceilings.
Step 5: Plumbing, Electrical & Structural Work
The “behind-the-scenes” work that ensures your kitchen is safe and functional.

What You’ll Do:
- Update plumbing lines: For new sinks, dishwashers, refrigerators with water lines, or pot fillers.
- Install or upgrade electrical circuits: For outlets, pendant lights, under-cabinet lighting, and new appliances.
- Complete framing changes: If you’re altering the layout or opening up the space.
Potential Challenges That Can Be Encountered:
- Existing systems that aren’t up to current code, requiring unexpected updates.
- Electrical boxes, pipes, or vents being located in inconvenient spots.
- Uncertainty around which walls are load-bearing and how to safely modify them.
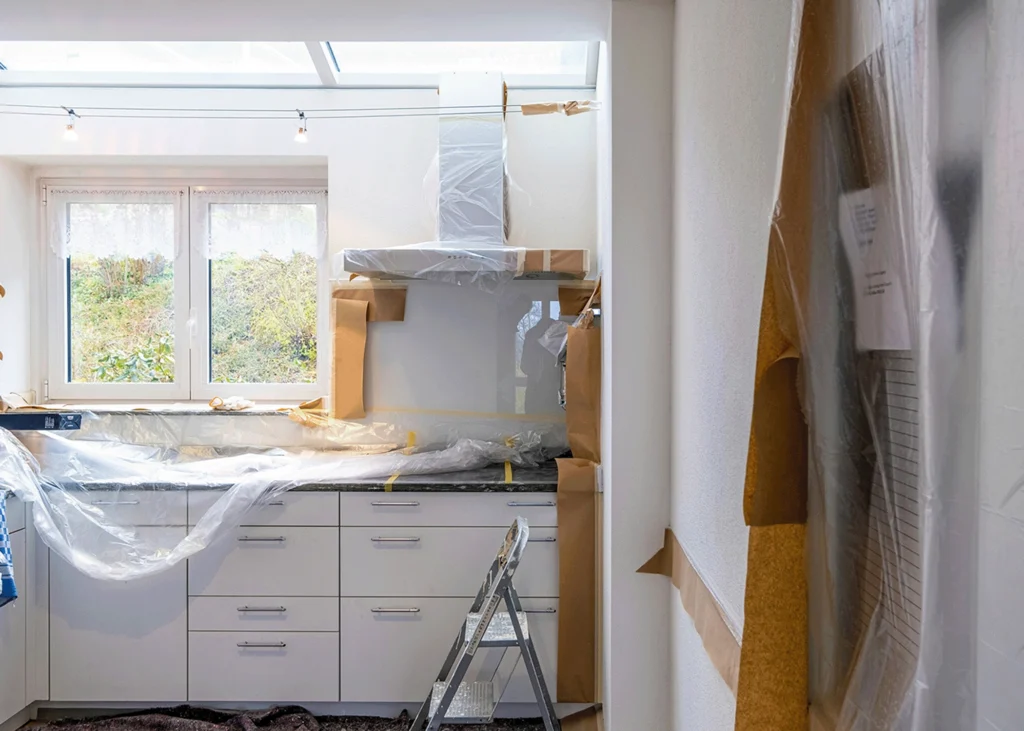
Step 6: Drywall, Flooring, and Painting
Once the infrastructure is in place, the kitchen begins to take form.

What You’ll Do:
- Repair or install drywall: Patch and finish walls after rough-ins.
- Paint walls and ceilings: Choose durable, washable finishes for high-traffic areas.
- Install new flooring: Whether it’s tile, luxury vinyl, hardwood, or engineered wood.
Potential Challenges That Can Be Encountered:
- Achieving smooth drywall seams and a professional finish can be tricky.
- Paint colors may look different depending on lighting and surrounding surfaces.
- Flooring transitions to adjacent rooms can result in uneven levels or awkward cuts.
Step 7: Cabinets and Countertops
Now the space starts to look like a real kitchen again.
What You’ll Do:
- Install base and wall cabinets: Precision is key for level installation.
- Template for countertops: After cabinets are in, counters are measured and fabricated.
- Install countertops: Once fabricated, they are carefully fitted and secured.
Potential Challenges That Can Be Encountered:
- Cabinets must be installed perfectly level for countertops to sit correctly.
- Small measurement errors can throw off the entire countertop template.
- Wall irregularities can leave unwanted gaps between cabinets and surfaces.
Step 8: Backsplash, Fixtures, and Appliances
The Detail work that brings style and function together.

What You’ll Do:
- Install backsplash tile: Adds personality and protects walls from spills.
- Add plumbing fixtures: Sinks, faucets, garbage disposals.
- Place and connect appliances: Refrigerator, oven, microwave, dishwasher.
Potential Challenges That Can Be Encountered:
- Tile layouts that don’t align with outlets, windows, or cabinetry lines.
- Incorrect waterline or power source placement can prevent appliances from fitting.
- Precision is key when installing sinks, faucets, and backsplashes to avoid leaks or misalignment.
Step 9: Final Inspections and Walkthrough
Time to inspect the final product and ensure it meets expectations.
What You’ll Do:
- Conduct final inspections (if required): Electrical, plumbing, or building inspections.
- Do a walkthrough: Note any final adjustments needed (touch-ups, alignment, etc.).
- Test everything: Appliances, outlets, water pressure, cabinet doors.
Potential Challenges That Can Be Encountered:
- Minor flaws like caulking gaps, touch-up paint needs, or squeaky drawers often go unnoticed at first.
- Testing appliances, fixtures, and lighting may reveal overlooked installation issues.
- Adjustments or fixes may require tools, materials, or skills not readily available.
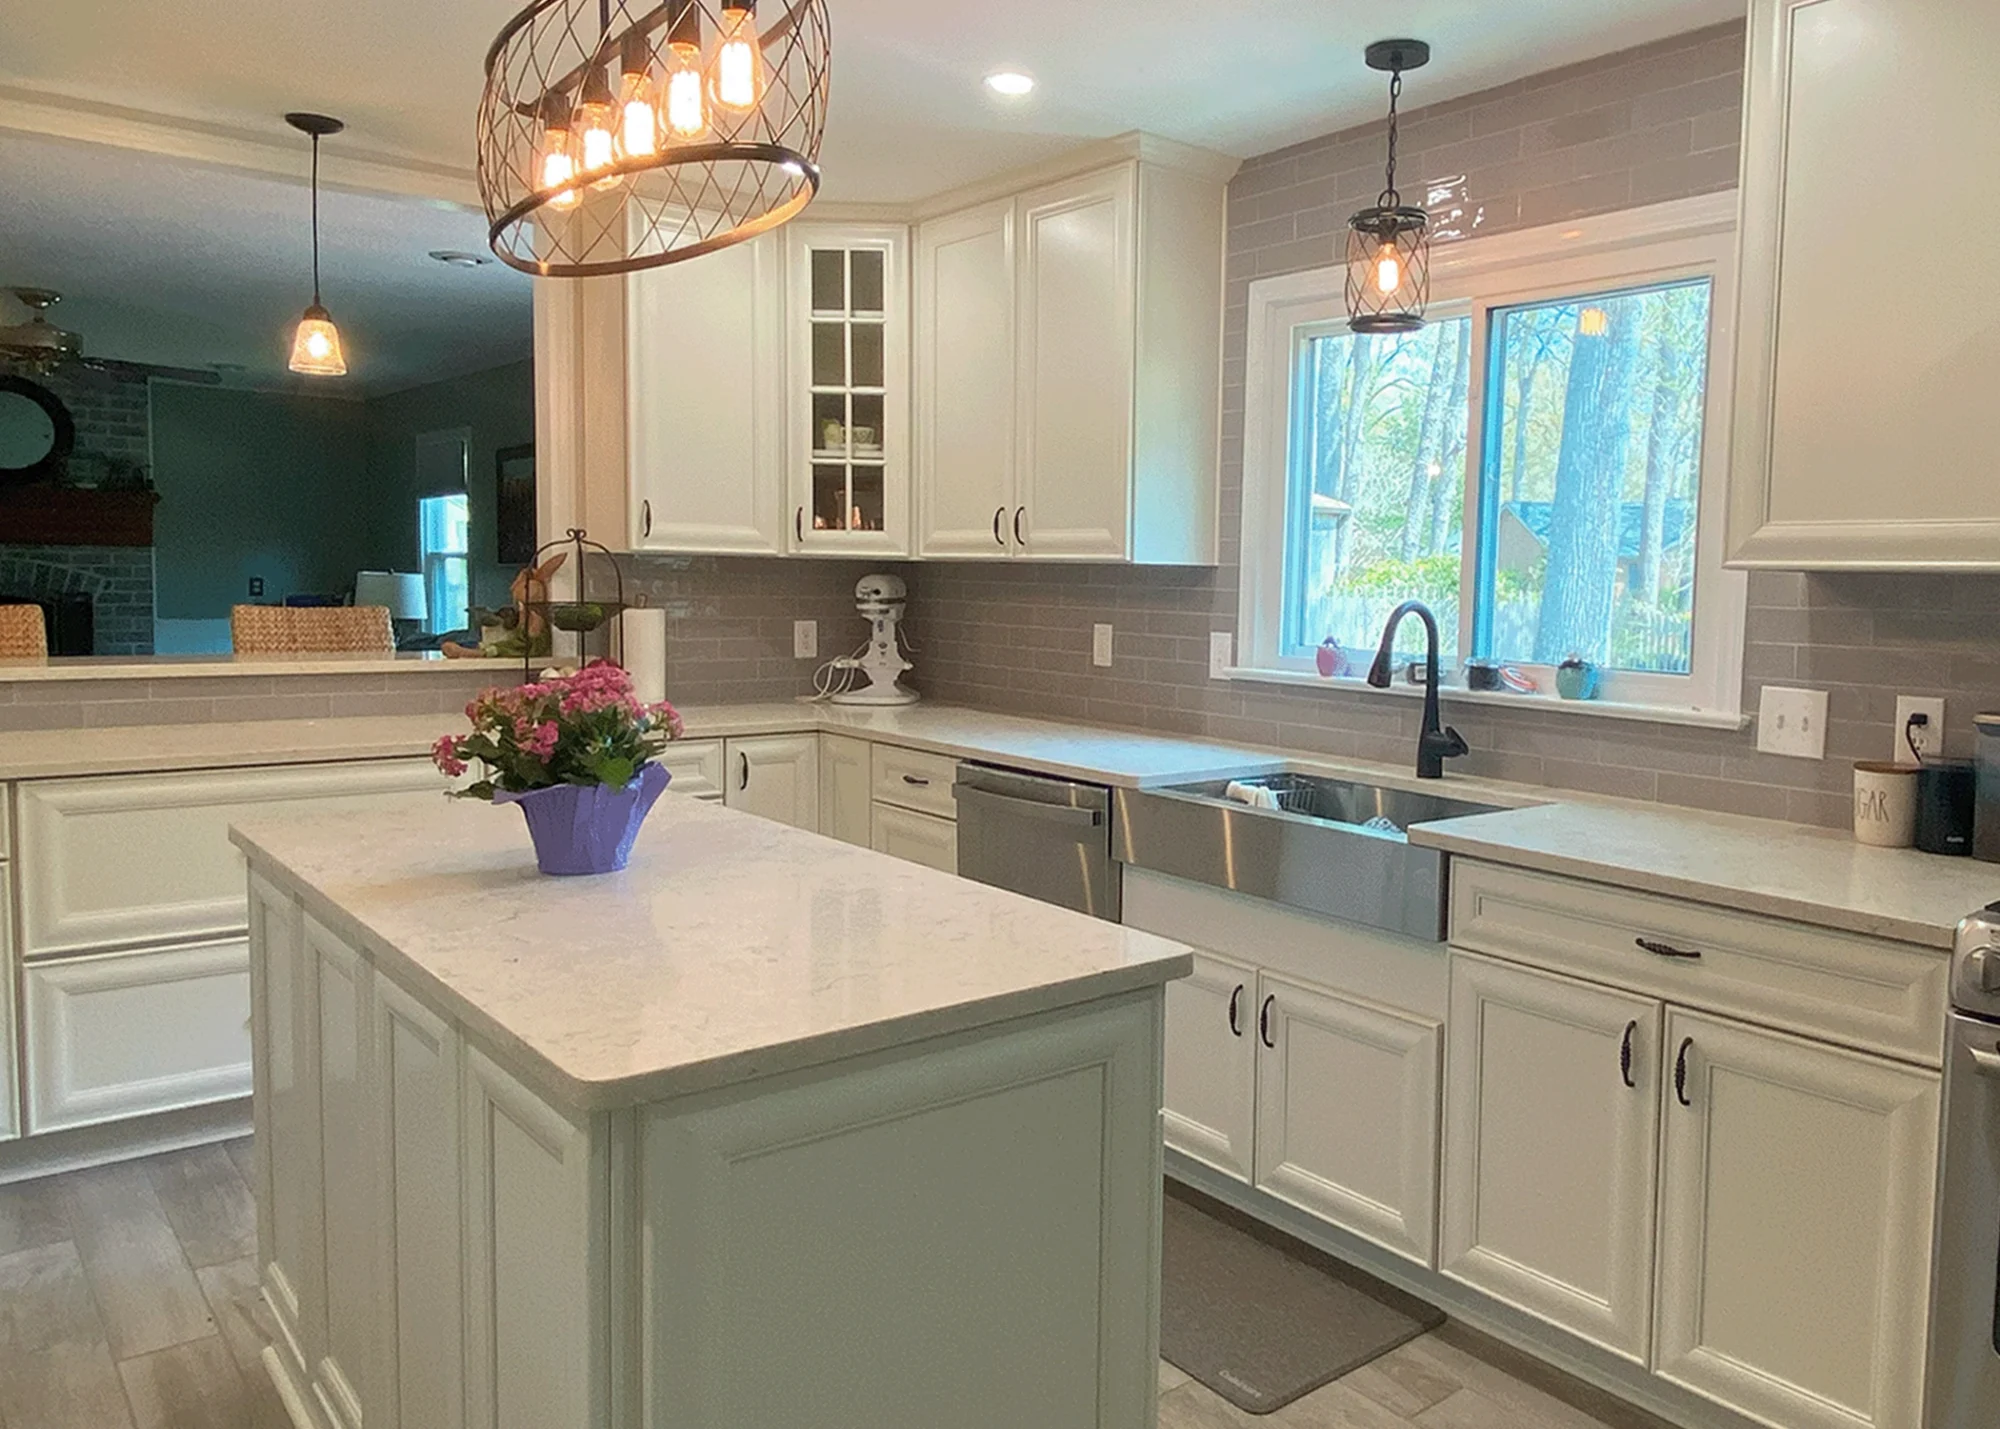
Step 10: Enjoy Your New Kitchen!
The best part of the journey is enjoying the result.
What You’ll Do:
- Move back into your space and organize it your way.
- Host a dinner party or enjoy a quiet cup of coffee in your brand-new kitchen.
- Take pride in a project that significantly boosts your home’s functionality and value.
Final Thoughts: How Easy Is it to Remodel a Kitchen?
It’s not easy— from electrical upgrades to layout decisions, a kitchen renovation is a major project that involves precise coordination, careful budgeting, and expert-level execution. A kitchen remodel is a multi-phase project that demands:
- Clear planning
- Reliable professionals
- Flexibility, patience, and attention to detail
But when it’s done right, it can dramatically improve your daily life—and your home’s value. The right team can help you avoid major stress and turn a complex process into an exciting transformation.
Ready to Get Started?
We’re here to help make your dream kitchen a reality—with expert design, experienced project management, and attention to every detail. Contact us today to schedule your consultation.